
Expert Tips to Repot Aloe and Prevent Transplant Shock
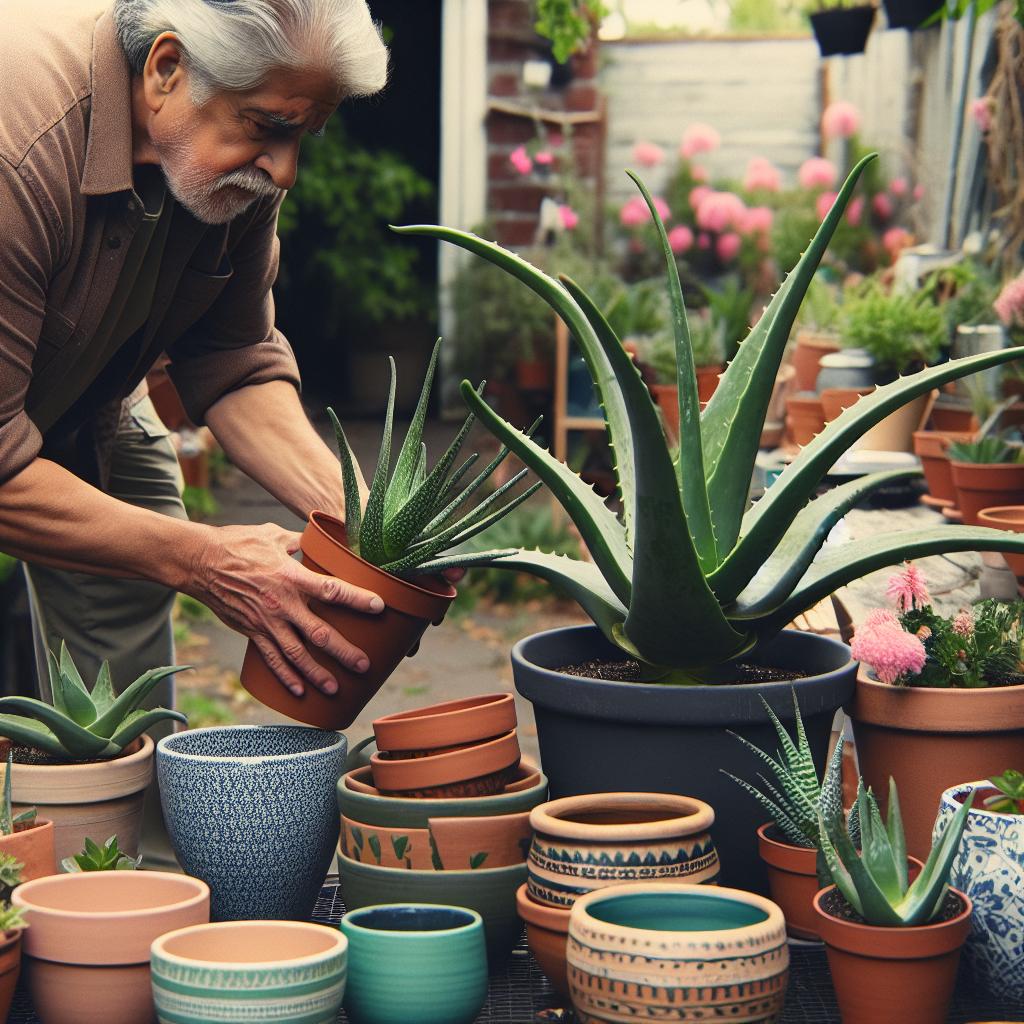
1. Choosing the Right Pot for Aloe Repotting
Title: Cactus Couture: Picking the Best Duds for your Aloe Vera’s Moving Day
Ladies, gents and plant enthusiasts, strap in! Today, we’re about to dive headfirst into the vivacious world of botanical fashion – no, not that kind of botanical fashion. We’re not prancing around in fern-patterned capris, but rather speaking with flair about how to ornate your proud and playful Aloe Vera plant with the right pot. Admit it, leafy accessories are pretty surreal; they don’t wilt or shrink and they’re on point all year round. Tea cozy or plant pot, the wardrobe matters – especially for your spiky little green companions.
Aloes, with all their prickly swagger and medicinal might, are the rockstars of the plant world. Let’s call them the forever-young David Bowies of your garden set—eclectic, brilliant, versatile, bringing life to otherwise dull corners of your living room or your patio. Now, just as Ziggy Stardust wouldn’t be caught dead in a badly tailored suit, your Aloe deserves a pot that not only suits its unique needs, but also radiates its inherent elan.
Pot picking is more than a whimsy. It’s an art, a science, and if, like us, you’ve taken to speaking to your plants (come on, we know you do it), it’s also about communication. Yes, indeed! A good pot is like a comfortable home to your Aloe, a spot where it can let its roots down.
So, how does one navigate through the Amazon Jungle (the shopping site, not the real one) or the labyrinthine aisles of the local gardening store to find the right pied-à-terre for your Aloe? Here are some delectable tips seasoned with a side of whimsy:
1. Material Matters:
Ceramic, terracotta, or plastic – each comes with its pros and cons. Ceramic pots may seem like the Beyoncé gown of pots, all shiny and glammed up, but they retain moisture, and Aloes, being the divas they are, don’t like their roots to stay wet for long. Terracotta, the rugged cousin, is breathable yet sturdy, a sort of vintage denim jumpsuit letting your Aloe’s roots breathe easy. Plastic pots, on the other hand, are light, economical, and come in colors that might be brighter than your future.
“It’s a legacy that was passed on to me. It just seems like the right thing to do. (The seats are) right on the 50-yard line. They are very good seats, three rows front of the press box.”
~ Sally Grant
But they may not provide enough aeration for the roots. It’s a toss-up, but for our bucks, Terracotta takes the vegan cake!
2. Size Swagger:
Slow your roll, eager beaver – bigger doesn’t always mean better! Oversized pots can hold too much water and cause your Aloe to develop root rot, basically the influencer’s nightmare of no likes. Stick to a pot that’s just a smidge bigger than your plant’s root ball – a cozy studio apartment, rather than a draughty mausoleum.
3. Holey Moley:
We can’t emphasize this enough – drainage is key! Ensure there’s at least one hole to facilitate the easy exit of excess water. Without a way out, water may pull a Tom Hanks in ‘Cast Away’ and stick around longer than necessary, causing your Aloe to feel a little more aquatic than it cares to be.
4. Color Chemistry:
Now for the fun. Choosing the color of your pot is like choosing the color of your dress or tie. Consider the color of your Aloe, your decor, even your mood. Remember, the best-dressed Aloes are those who are dressed true to their plant-parent’s style.
So, my fellow fauna-fashionistas, end your pot-agonizing quest with these tips in mind. The right pot for your Aloe doesn’t just exist as an accessory – it is a platform for it to strut its sassy self, prosper and thrive, thus sprinkling its green magic around your life. So give your Aloe a home it can rock, and wear that botanical couture with pride!
Learn More: 1. Choosing The Right Pot For Aloe Repotting

2. Guide to Aloe Transplant Procedure
Title: ‘To Aloe and Beyond: Your Guide to the Great Aloe Transplant Expedition’
When it comes to exotic gardening marvels, the humble Aloe Vera plant sits throned atop a pedestal, basking in the glory of its well-deserved popularity. It’s the gift that keeps on giving, asking for little in return while it dutifully stands guard against sunburns, stings, and scandalously dry skin. But, just like any marvel, when overstaying its pot estate, the aloe plant will need a little shake and rattle to move to a bigger abode. So, how best to relocate this succulent superstar without causing a reality TV-worthy scene?
Fret not! We have knitted together a how-to guide that promises to be the bedazzled gardening cape to your bewildered Clark Kent.
Step 1: The Showdown
Your first task sees you at sunrise, cowboy hat on and garden gloves ready, staring down at your pot-bound aloe. Yes, the time has come to gently uproot your little green amigo. Using a garden trowel – or in layman’s terms, a fancy ‘sandcastle spade’ – carefully extricate the aloe, ensuring the surrounding soil is loose enough to avoid a ‘clash of the titans’ scenario. The aloe root and you are about to dance a well-choreographed tango, so lead with grace and take your time.
Step 2: Evict the Squatters
After the first hurdle comes…drumroll, please…the root inspection. If overcrowded roots scamper out like roommates busted for not paying rent, then it’s definitely time for them to find a new domicile. An overcrowded base is an indication that your aloe has outgrown its pot and is ready for broader horizons – consider it an ‘aloeverachiever’, if you will.
Step 3: On a Mission to Remission
It’s high time for some R&R (Recovery & Recuperation).
“O Love! What hours were thine and mine, In lands of palm and southern pine; In lands of palm, of orange-blossom, Of olive, aloe, and maize and vine!”
~ Alfred Tennyson
Allow the aloe to sit out a couple of days so that the roots can air dry and recuperate from the stress of eviction. This step may sound a little melodramatic, but believe me, it’s necessary. Think of this as your aloe plant’s much-needed spa day post-move, or a mini staycation before heading to its new destination.
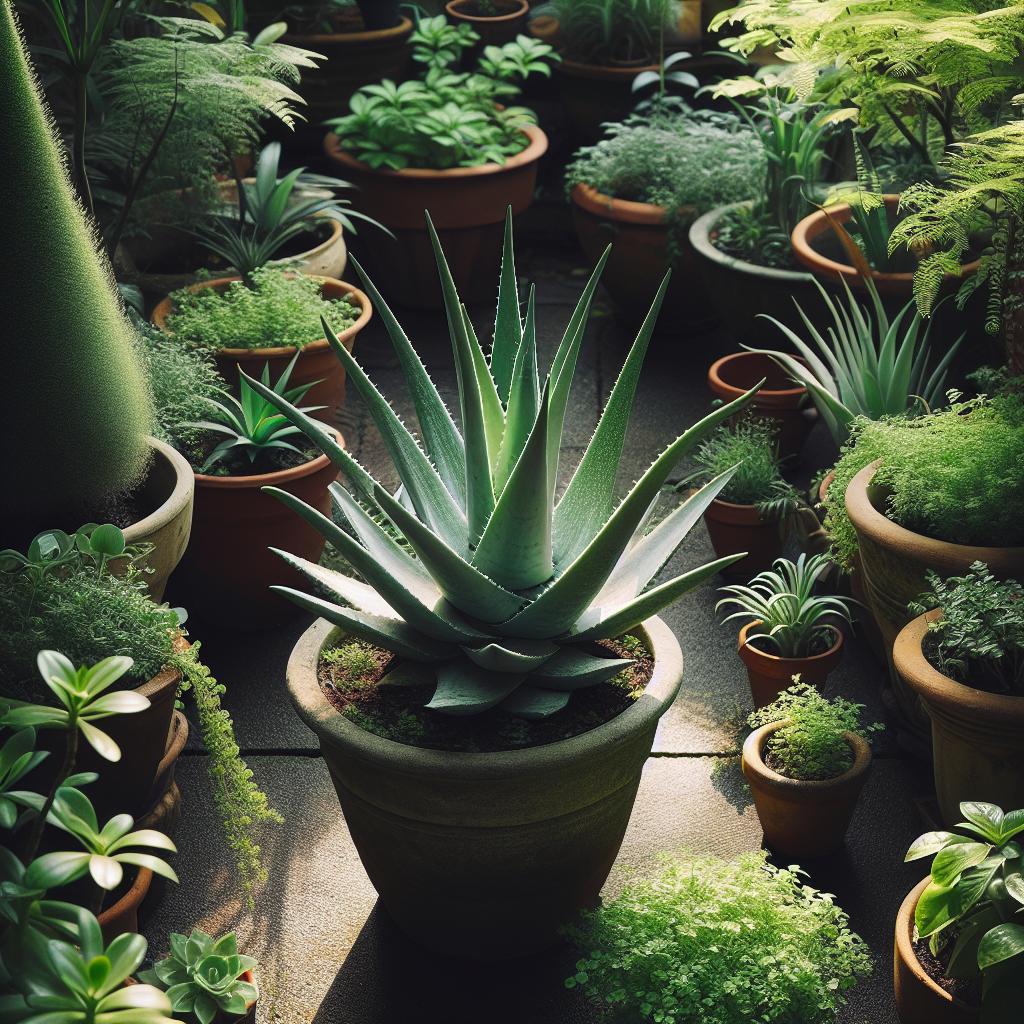
Step 4: Welcome to Aloeville
Well done, brave gardener! You’ve made it to the most rewarding part – giving your green buddy its new home. Choose a planter that’s wider than deep to avoid the recreating of the Titanic with your aloe plant’s root system. Use sandy potting soil for good drainage, because your aloe enjoys dry feet just as much as you do after a day in wet socks!
Gently place your aloe into the pot, sprinkle some soil over the roots without cramping its style, and voila—you have successfully transplanted an aloe! Give yourself a high-five, do a silly dance, and get the plant a welcome home balloon. Okay, maybe the balloon isn’t necessary, but why not?
Remember, at the end of the day, the aloe plant is your friend, not your foe. Treat it kindly, serenade it with Barry White once in a while, and it’ll be more giving than any plant you’ve ever had the fortune to meet. Now, you’re fully equipped to go out there and be a part of the exciting ‘Aloe Transplant Club’. Don’t worry, that’s not really a thing, but it should be, right? Happy Gardening!
Read More Here: 2. Guide To Aloe Transplant Procedure
3. Preventing Transplant Shock in Aloe Plants
Title: The Green Thumb’s Guide to Aloe-ve Your Plant: Nixing the Transplant Shock, the Cheeky Way!
Pretty sure we’ve all been there—finish running the good old ‘aloe-relay race, also known as painstakingly transplanting your beloved spiky greens, only to find them looking more like wilted spinach than radiant succulents. It’s a sad tale as old as nursery rhymes. Humpty Dumpty had a great fall?” definitely was about an aloe plant experiencing transplant shock.
So, let’s dive into three chucklesome but helpful strategies to keep your aloe plants beaming post-transplant like beauty queens waving to their adoring crowd.
1. Proceed with Tender Love and Care (Or More like Aloe and Care)
Touch is your first weapon against transplant shock. It might seem a tad too simple, but believe me, plants have feelings too…at least they act like it. Imagine if you were forcibly evicted from your bed and plonked onto a rock-hard couch? Heartbroken, bet Disappointed? Definitely. Well, your aloe plant feels the same way when violently forced into its new soil digs.
The trick is ‘gentle does it’. Delicately tickling, rather than a vicious yanking, helps to steady your plant’s roots. My motto? Ruffle the roots, not the plant’s shoots. And by ruffling, I mean more like a gentle finger massage than a rough scrub.
2. Soil is Not Just Dirt
Strike two against transplant shock? Soil, my dears, or more like s’oil. Choosing your soil is like picking a court carpet for a tennis match. Soil likes to play hard to get with its ‘it’s not you, it’s me’ mindset. It can make all the difference in the survival or demise of your aloe.
“More than 100 people are involved in a transplant operation.. And we can’t waste time and resources if there is a chance the caretakers aren’t up for an awesome responsibility.”
~ Leonard Bailey
Steer clear of soils dense enough to construct a sandcastle out of. Instead, go light, fluffy, and well-draining. Remember: aloes in the wild come from arid desert climates, not rainforest floor. Choose soil that is like the best beach sunset experience – airy, light, and absolutely breathtaking for your aloe!
3. Hydration: The Line Between Life and a Soggy Death
Lastly, let’s pull hydration into the spotlight. With aloes, it’s more of a camel’s hydration preference – comfortable with just enough. Excess water will make your aloe feel like it’s drowning in the monsoon under its little green parasol.
Aloes are nature’s lean, mean, water-storing machines. So, watering your transplanted aloe immediately is akin to forcing a caramel sundae on a freshly full stomach. Consequence? Aloe indigestion a.k.a. root rot – the ultimate killjoy! Instead, let the transplanted aloe rest a few days before its first watering. Think of it as “dry fasting” for your plant.
There you have it – the golden trifecta to prevent your aloe from going into the plant equivalent of a ‘system shutdown’ after a transplant. Treat them gently, nestle them softly into loosened, well-drained soil, and let them fast before the water feast. Your aloes will thank you for your considerate green touch by staying as radiant as the jewel of the desert they are!
Enjoyed This? Here’s More: 3. Preventing Transplant Shock In Aloe Plants


